Sew a Button Headband {Tutorial}
is that I LOVE BUTTONS!
Button bracelets, button earrings, button party favors, button push pins, button flowers, button rings--you name it, I've likely made it!
And today I would like to share how to make my latest button creation:
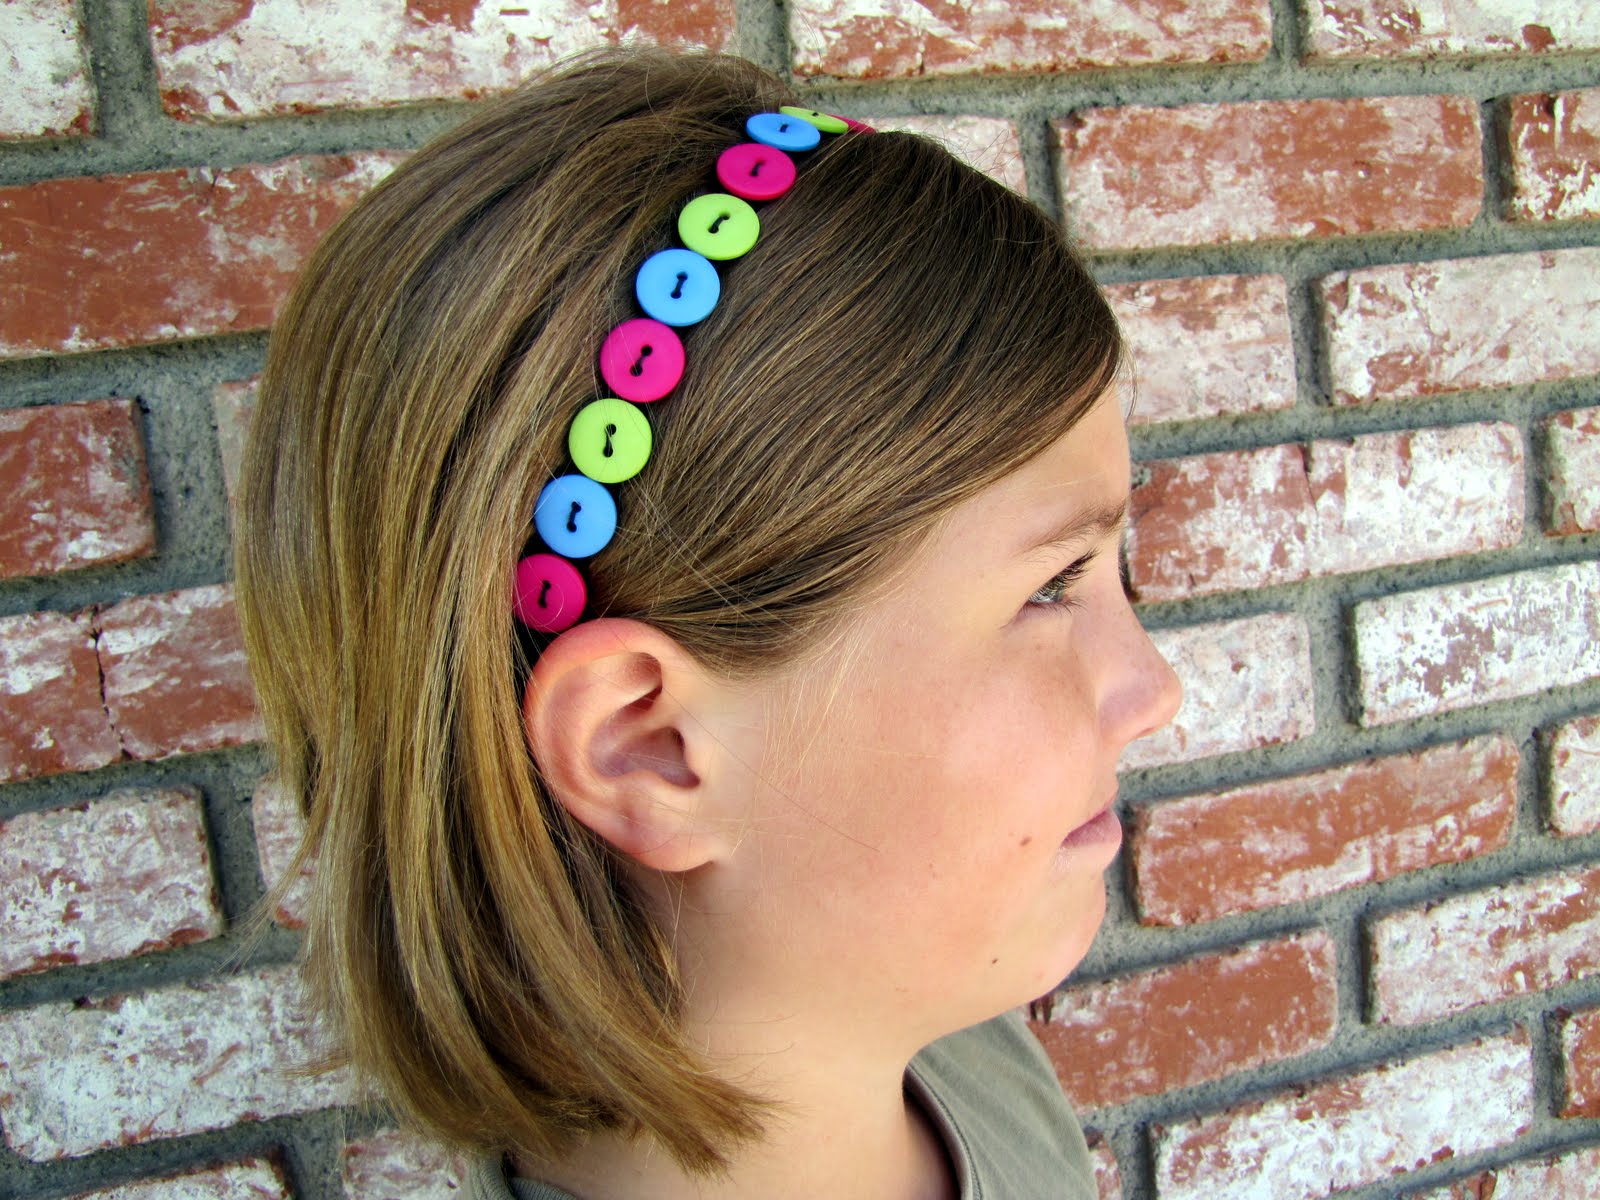
How to Sew a Stretchy Button Headband

STEP ONE:
Gather all your supplies.

You will need:
Goody Brand stretchy headband {available at Target}
Needle and thread
Your favorite buttons

Now, pick out the order you want your buttons to be sewn onto your headband. Pick enough buttons to take up about 2/3 of the total length of your headband. You will only end up sewing on buttons to 2/3 of the headband and leaving the other 1/3 blank. I suggest this so that buttons don't get caught in your hair when you wear the headband.
STEP TWO:
Thread your needle and begin sewing on your buttons. I picked the same color thread as my headband {black} so that you wouldn't be able to see the thread. Bring your needle up through the back side of your headband to begin.

I went through each button hole two times for added support.

Now sew on your next button, again beginning from the underside of the headband.

Then continue sewing on the remainder of the buttons following the above directions.

Remember to leave about 1/3 of the headband button-less so that your hair won't tangle.

When you have sewed on your last button,
knot off the end and you are done!
And wa-lah!
Super cute, right!
Thanks a million Brittany, for letting me spend the day with your totally awesome readers!
Please come visit me at Little Miss Momma for additional tutorials, fabulous giveaways, and to read about my adventures as a Momma-in-training.

-ashley
---------------------
Thanks Ash....You are welcome here ANYTIME!! Please give don't forget to thank Ashley and give her some comment LOVE ;)
Yay Brittany--thank you for the chance to visit with your readers and share yet ANOTHER button tutorial, lol ;) I'll think of something WITHOUT buttons next time ;)
ReplyDeletemy daughter will love this! Thanks for sharing I will make one with her this weekend.
ReplyDeleteLove this idea!! Very fabulous!
ReplyDeleteThat is such a great idea. Can't wait to try it with the girl's I teach. They are 8-11.
ReplyDeleteSo fun! I have about a million buttons to use up so this is perfect!
ReplyDeleteSome people prefer 'no sew', I prefer 'no glue', thanks for this cute idea! Happy Transformation Thursday <3
ReplyDeleteYou are so clever! I thought buttons are for clothes only and I don't even think that buttons can also be used in many ways. This is such a great project – I adore this headband. Thanks for sharing.
ReplyDelete